
Concrete preparation & our installation process
Five steps from first visit to finished floor. Residential installations are completed in one day.
Step 01
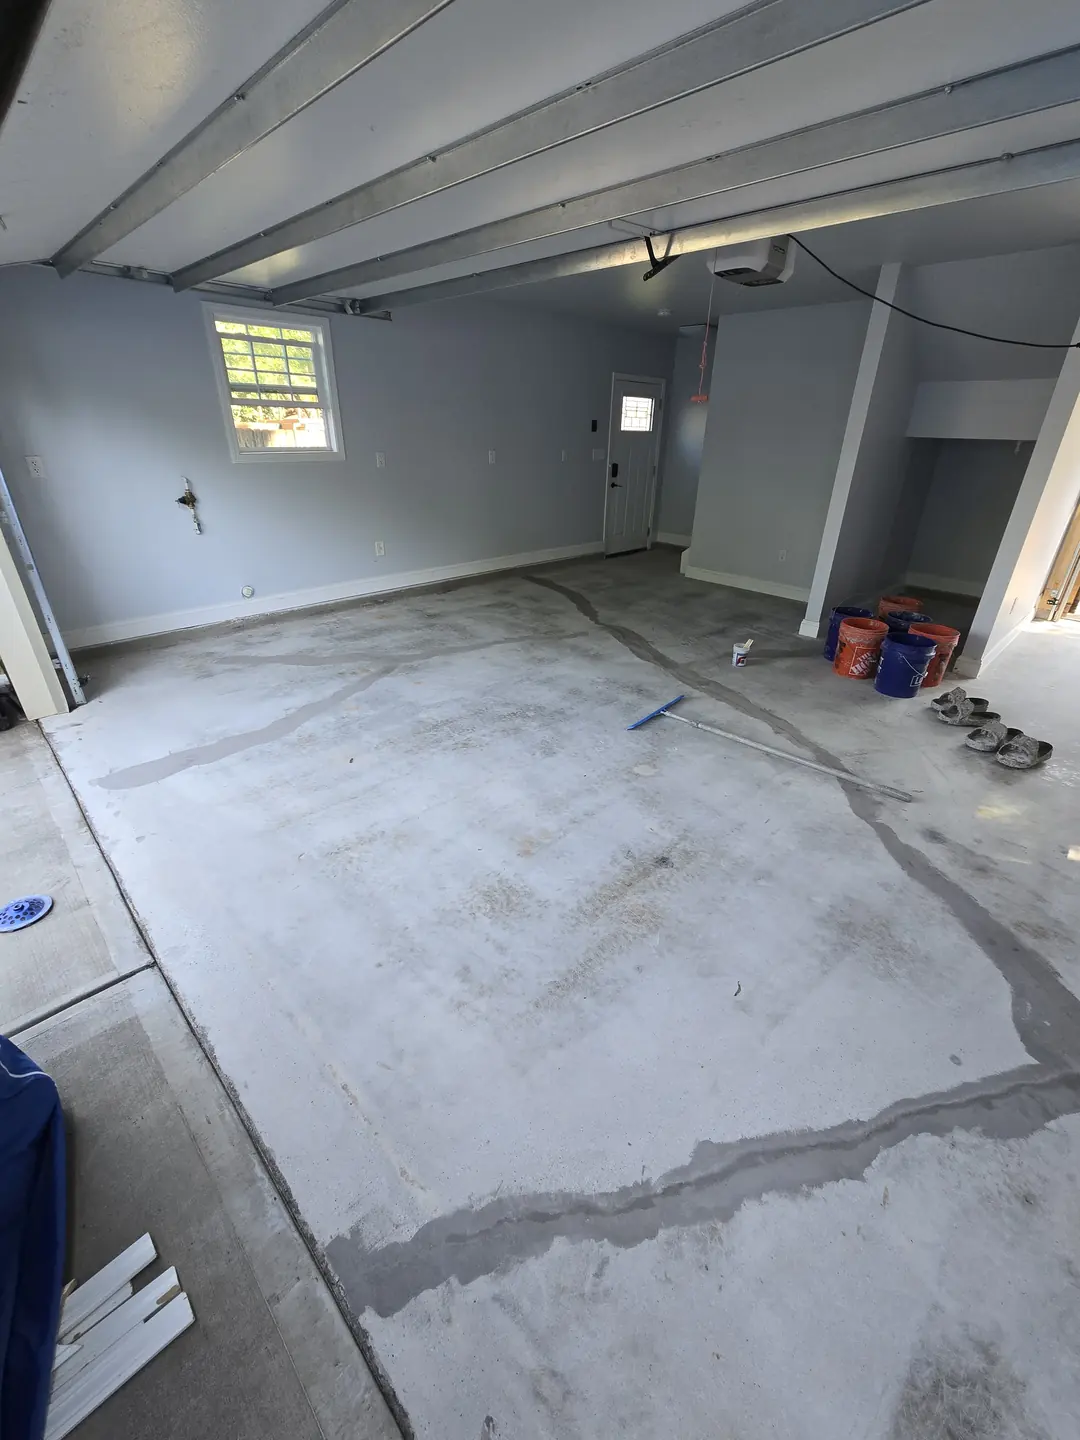
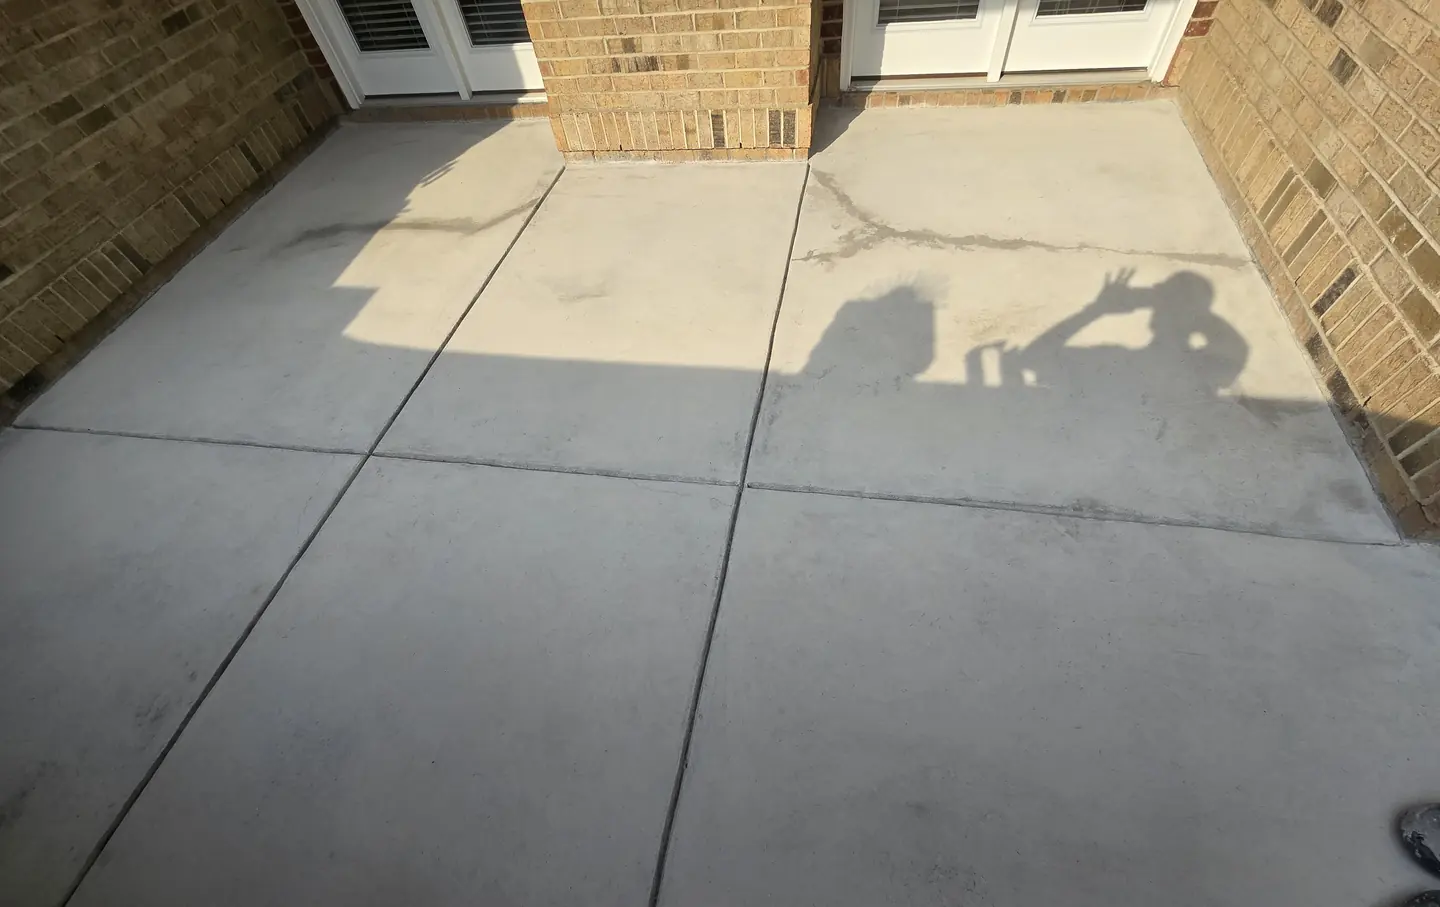
Free on-site estimate
We come to your home or business, measure the space and look at the concrete in person. You get a clear quote at no cost and with no obligation.
Step 02
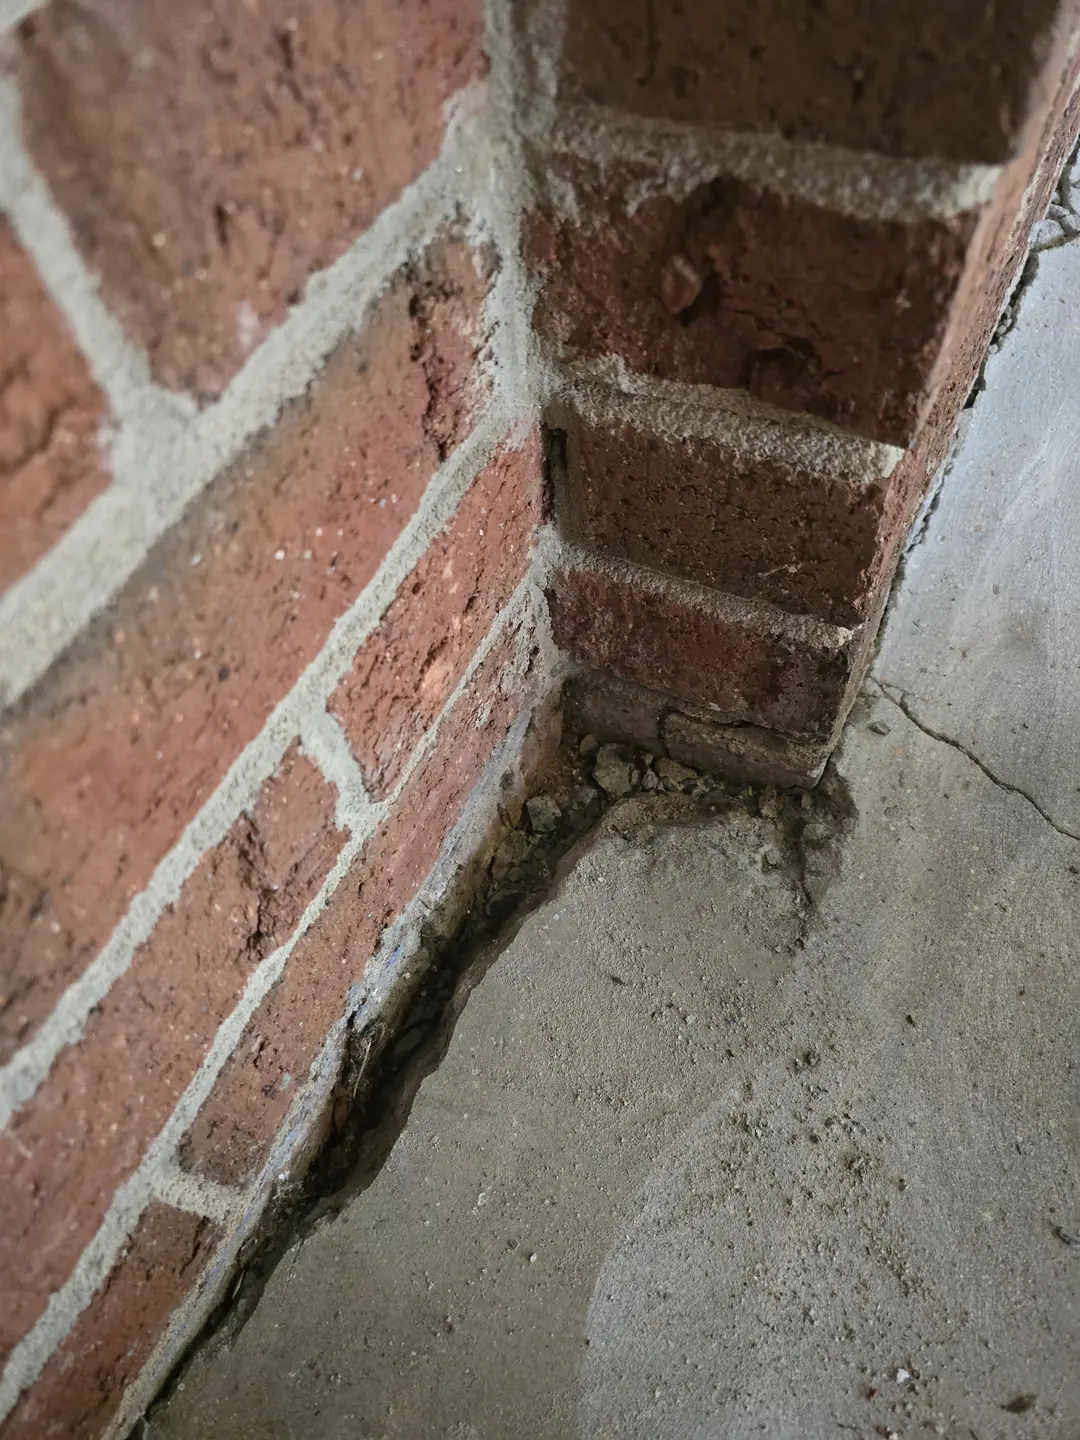
Surface inspection & color selection
We check the condition of the slab, then help you choose a flake color and finish that suits the space.
Step 03
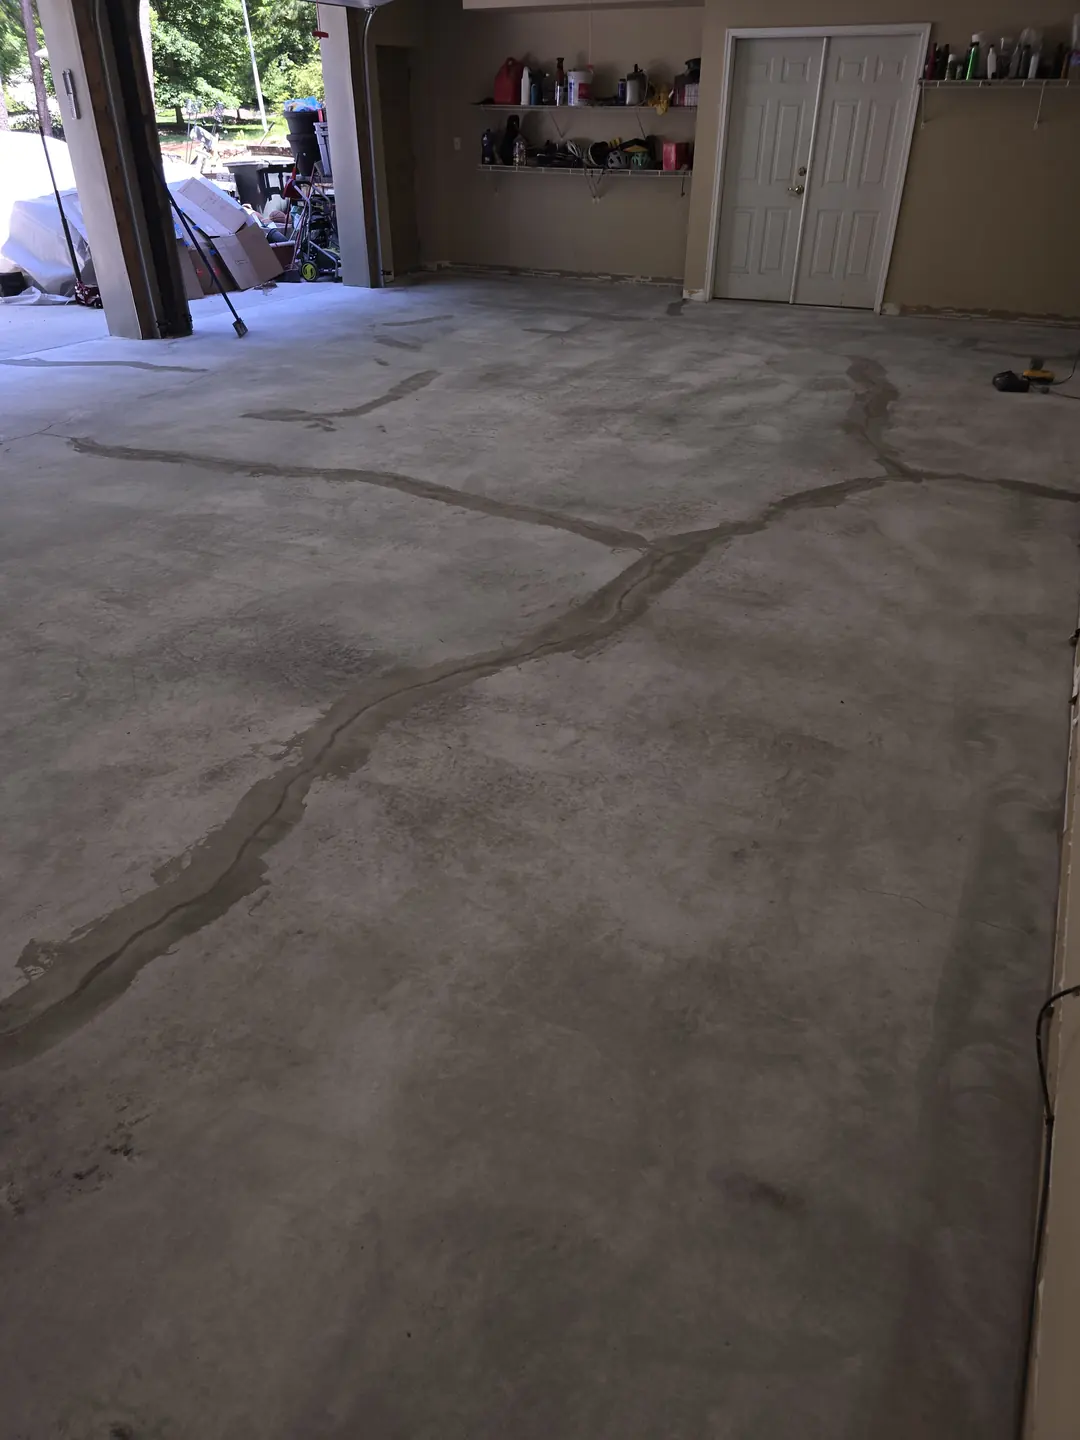
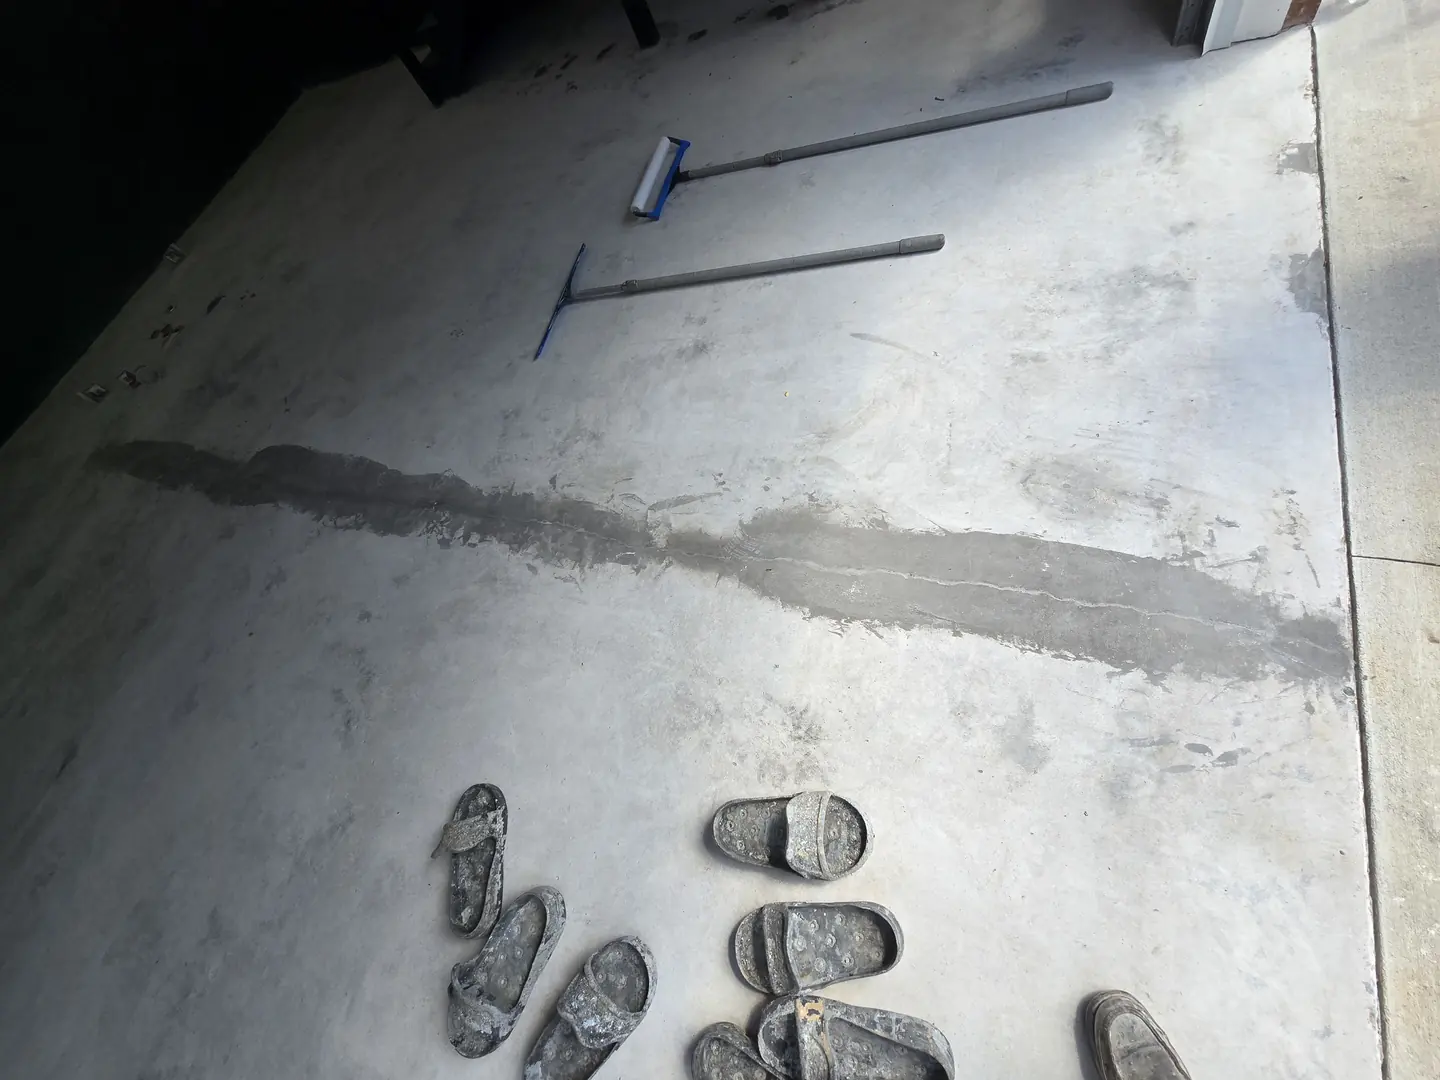
Professional concrete preparation
Preparation is what makes a coating last. GRIT uses professional grinding equipment to open the surface and HEPA-filtered vacuums to capture the dust, so the coating has clean, sound concrete to bond to.
Step 04
Coating installation
We install the RockHard XPS polyaspartic coating system with Fast Cure MVB, finished in the flake color you selected.
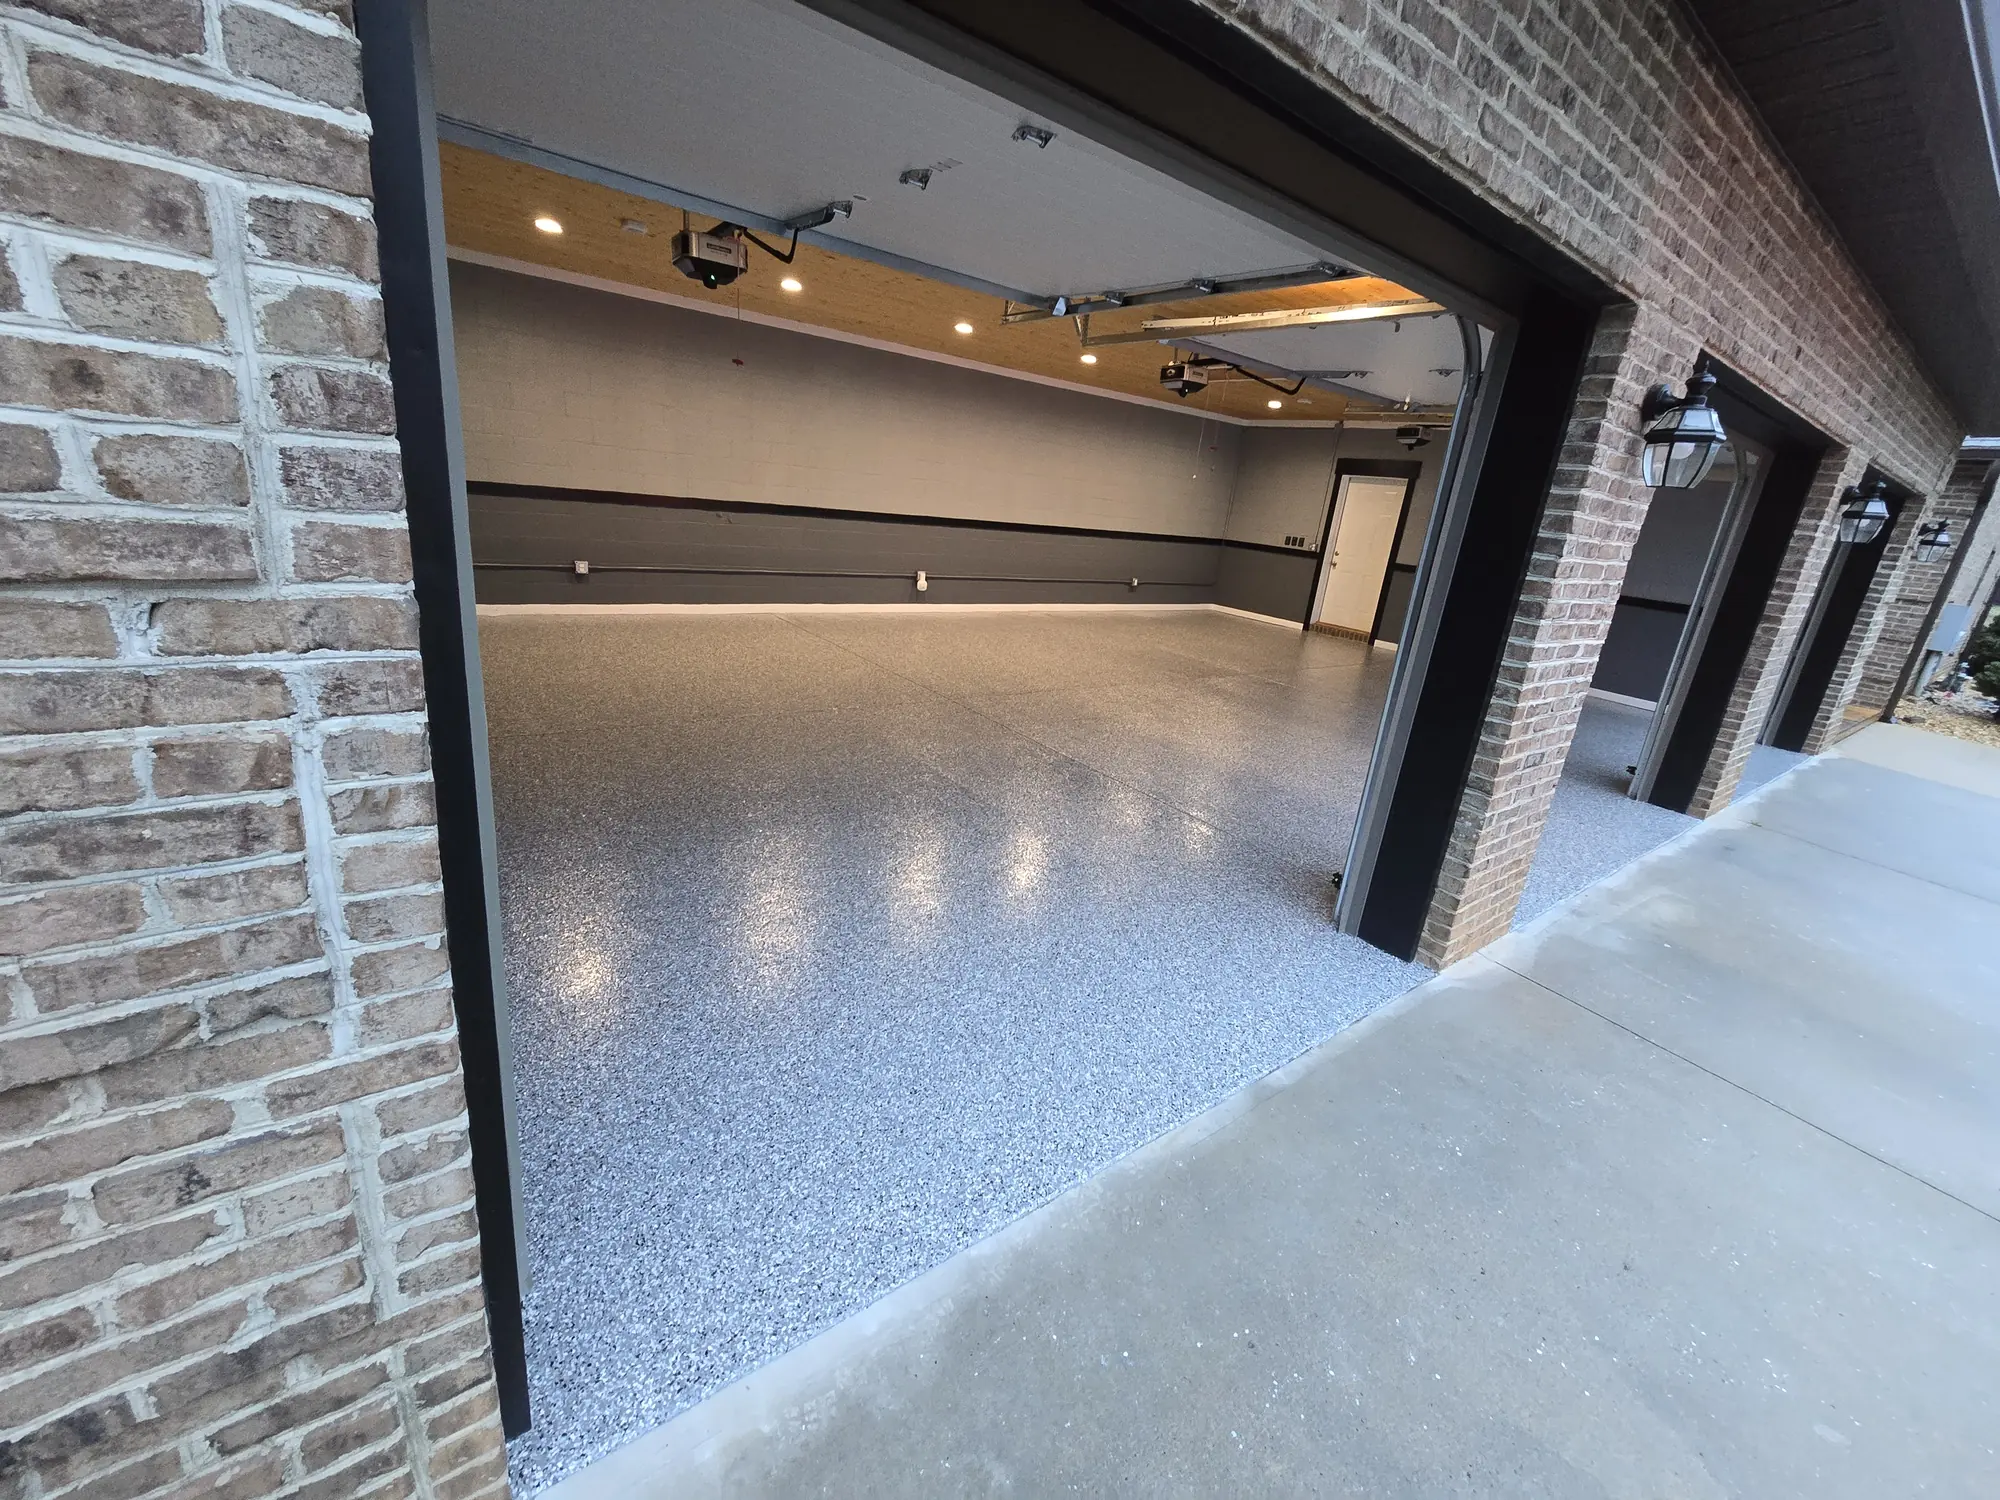
Step 05
Final finish & care instructions
We walk the finished floor with you, explain when it's ready for use and show you how to keep it looking its best.
On the job
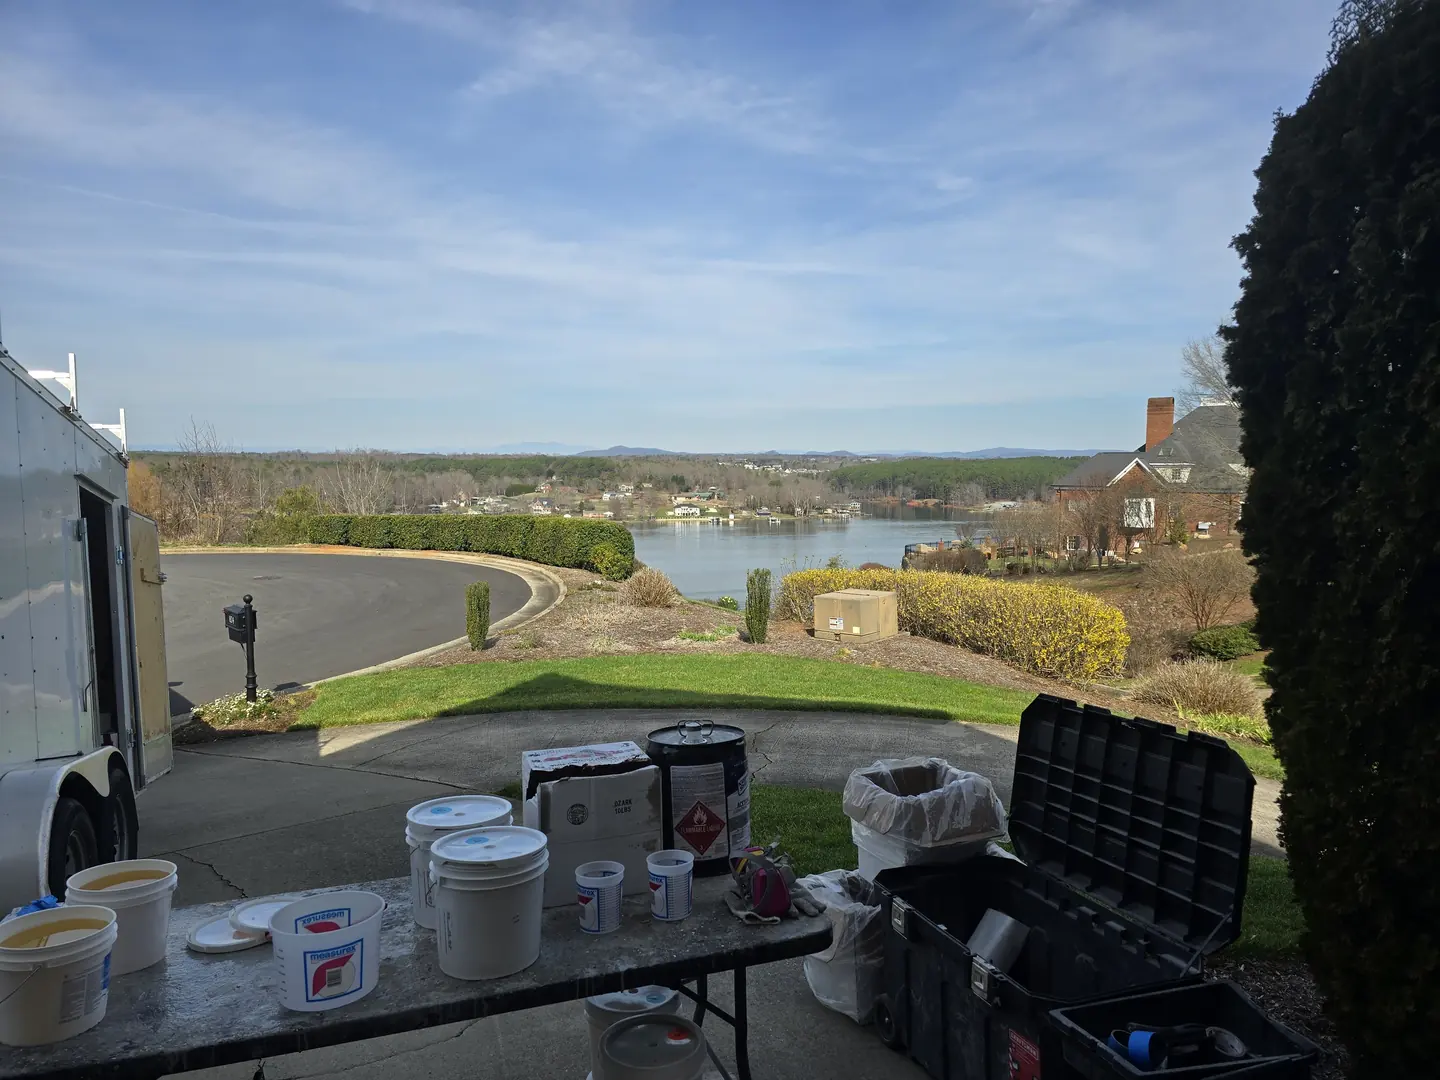
Prepared before we start.
Materials and tools are staged on site before installation begins, so the coating goes down in one continuous, organized process.
The photos on this page come from different GRIT jobs and show typical stages of the work.
Free on-site estimates
See what your floor could be.
We'll come to you, look at the concrete, show you color options and give you a clear price. No cost, no obligation.